Objective.
Sandwiches have been around since the 1700s [1]. They are one of the most common forms of food in the world, and they are quite simple to make. Yet, with all of humanity's technological advances, the easiest way to attain a sandwich is still to make one by hand. We were actually surprised to find very little prior development in the field of "automated sandwich-making robots." We sought to change that by making a mechanical system that crafts sandwiches to order by assembling the ingredients for you at the push of a few buttons, eliminating the need to tiresomely make yourself a sandwich.
Project Video
Video briefly showcasing the project and showing a sandwich being made
Itroduction
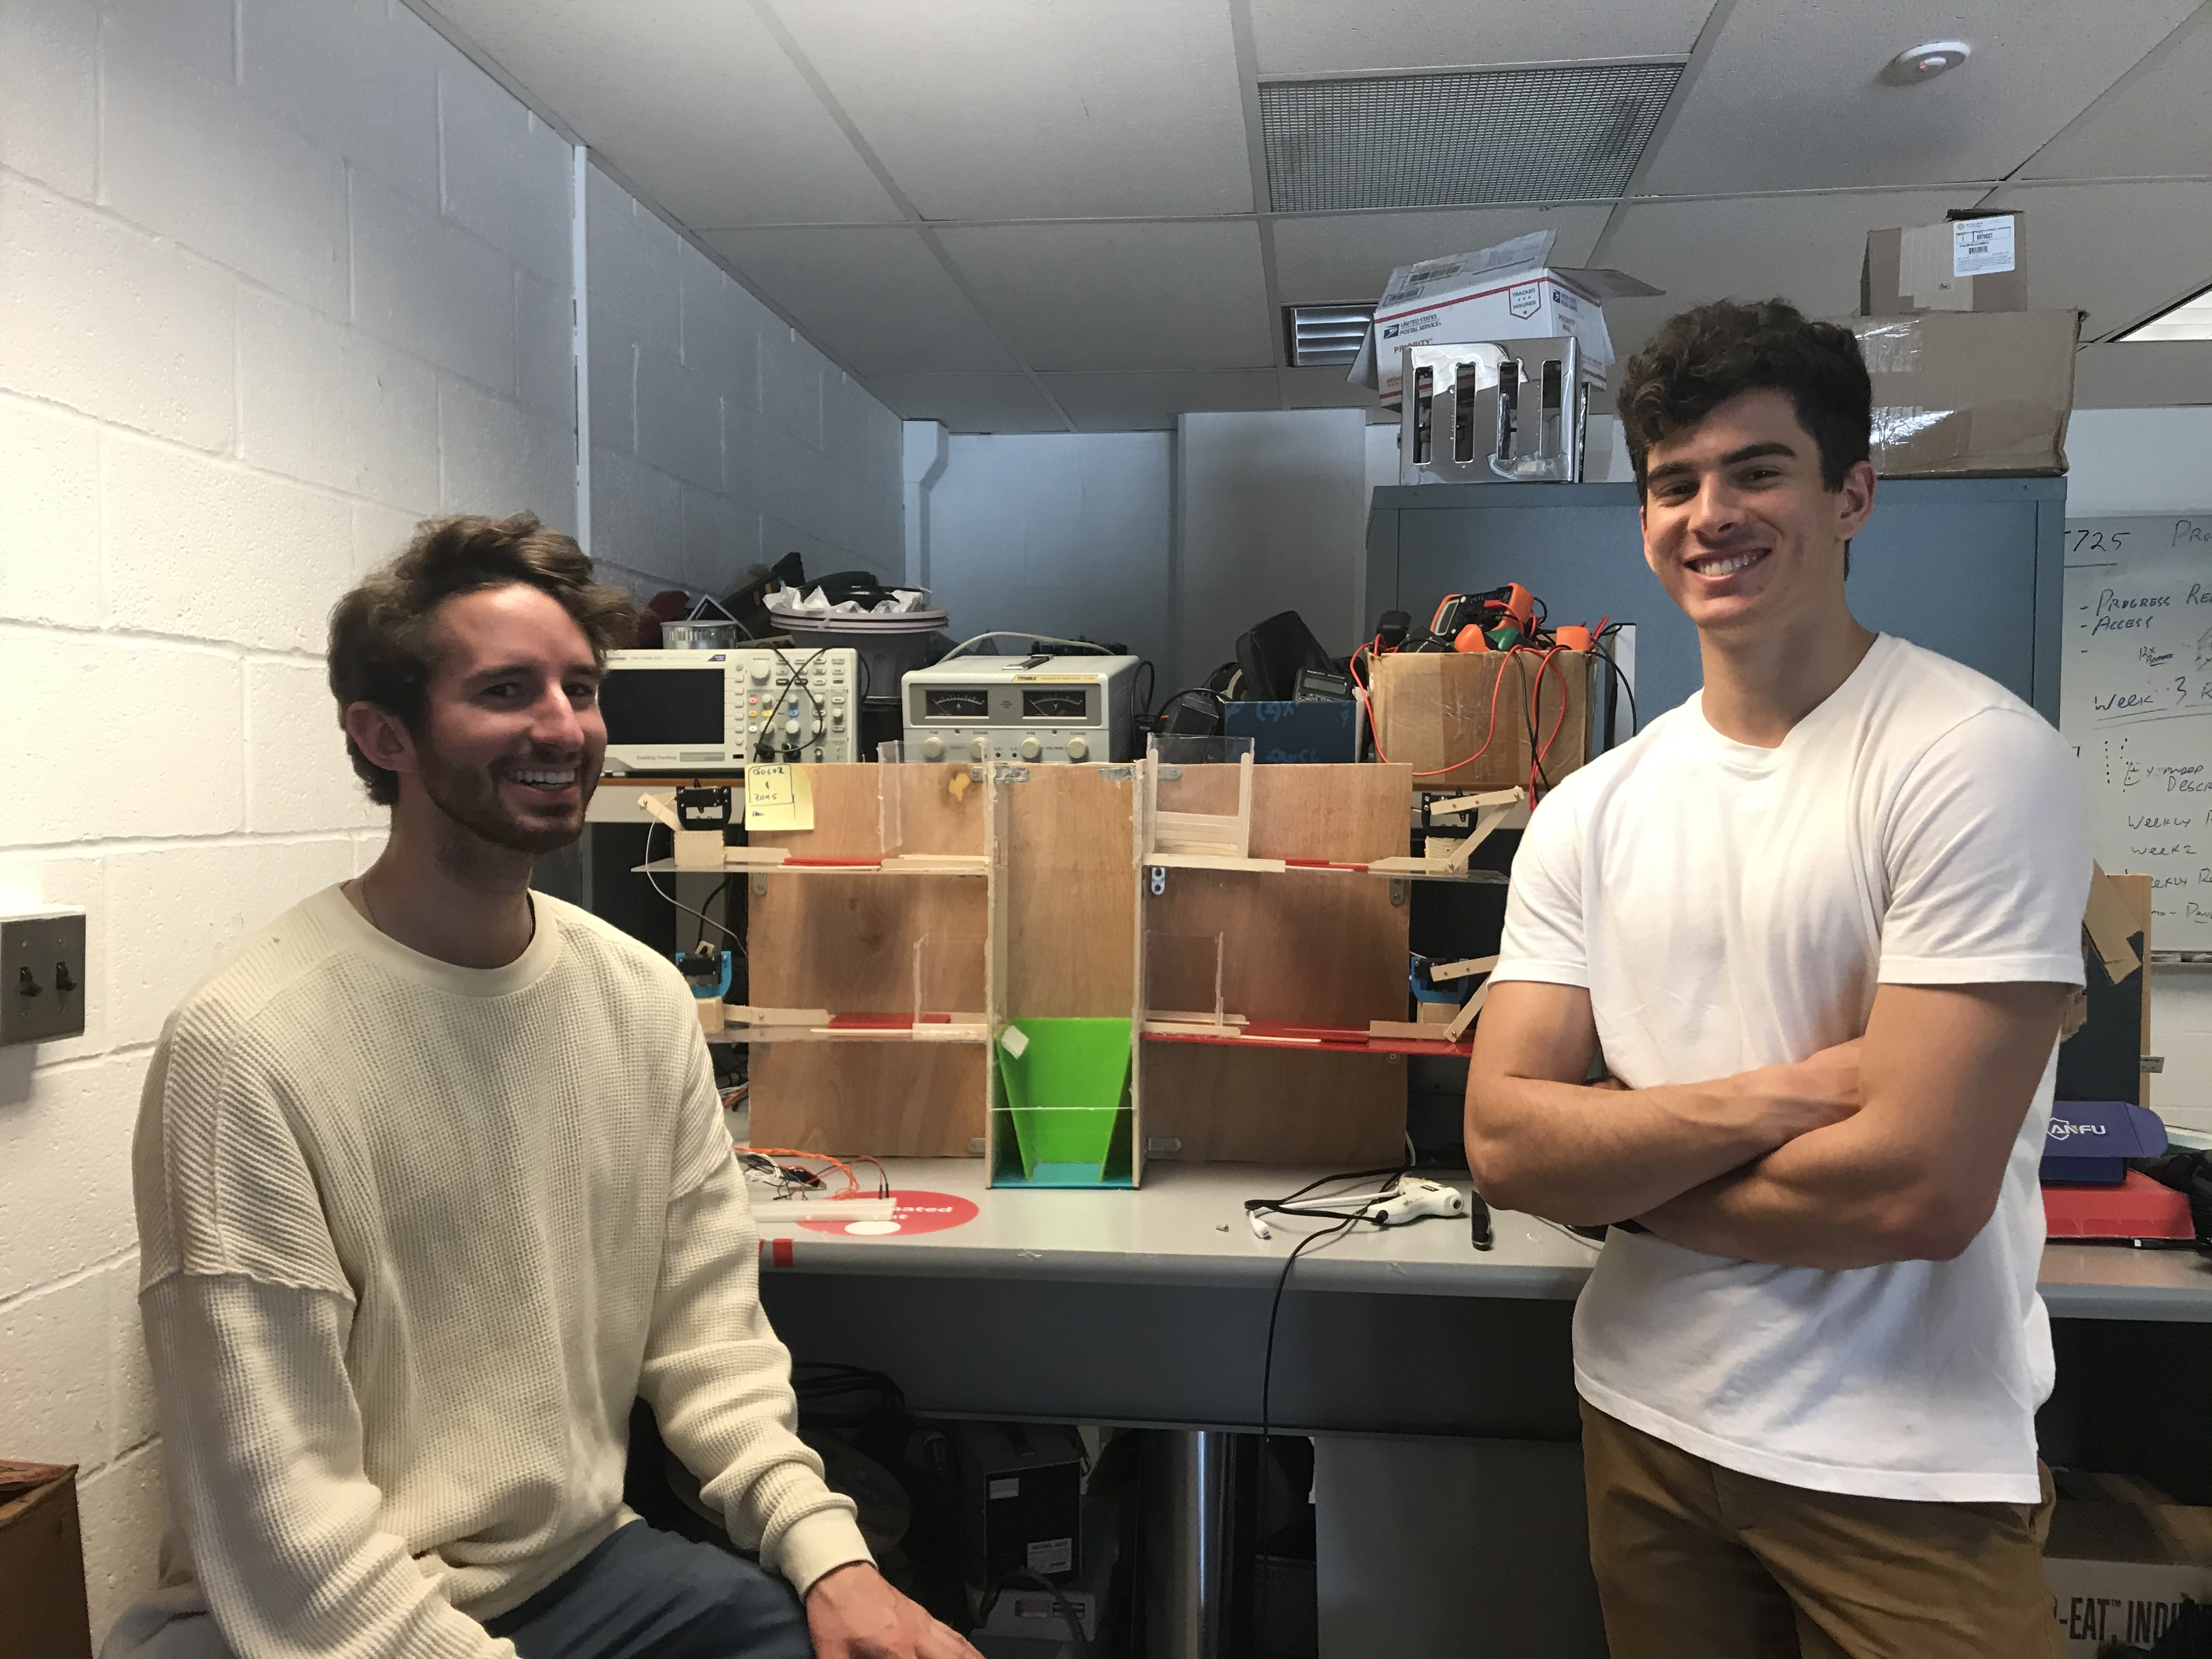
Welcome to our project website! We are Zack Hatzis and Guillaume de Cannart, and our final project for ECE 5725 is a mechanical system that creates sandwiches, complete with an ordering kiosk. We manufactured our build out of wood and plexiglass, fastening everything together with metal brackets and screws, as well as a generous amount of hot glue. The build also includes four "slider-crank" mechanisms, which turn the rotational motion of standard servo motors into linear motion to be used for pushing ingredients.
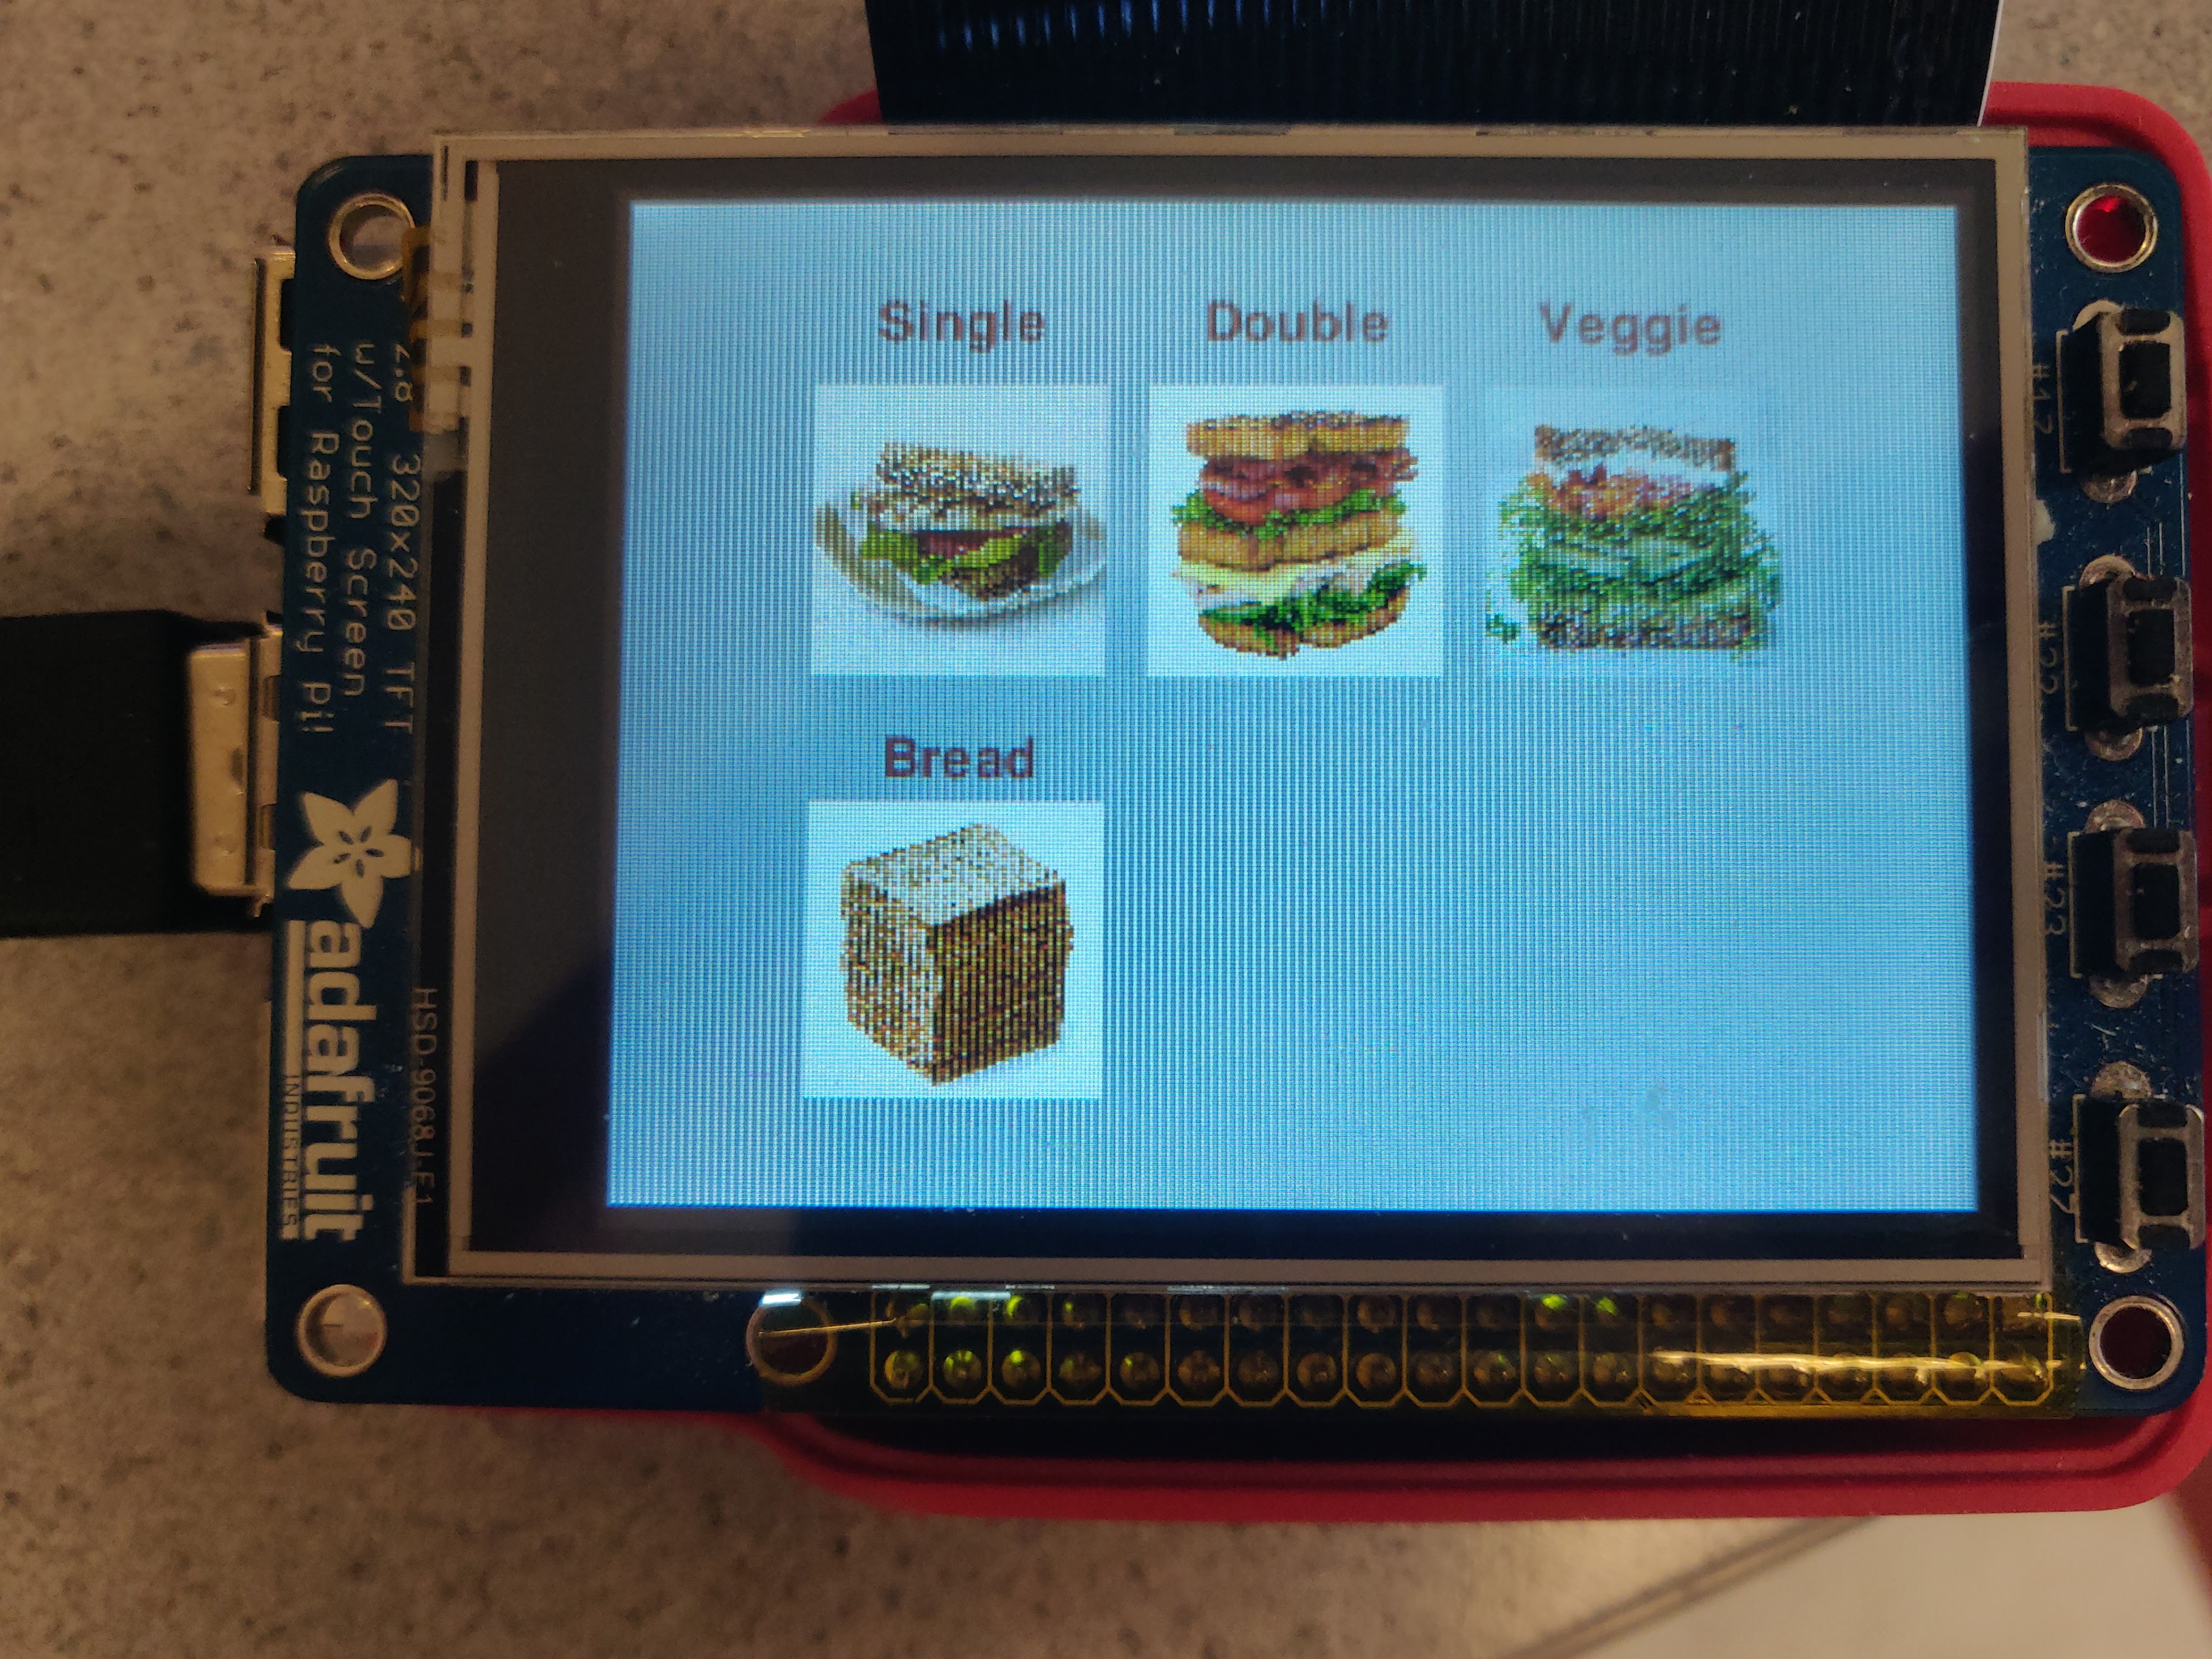
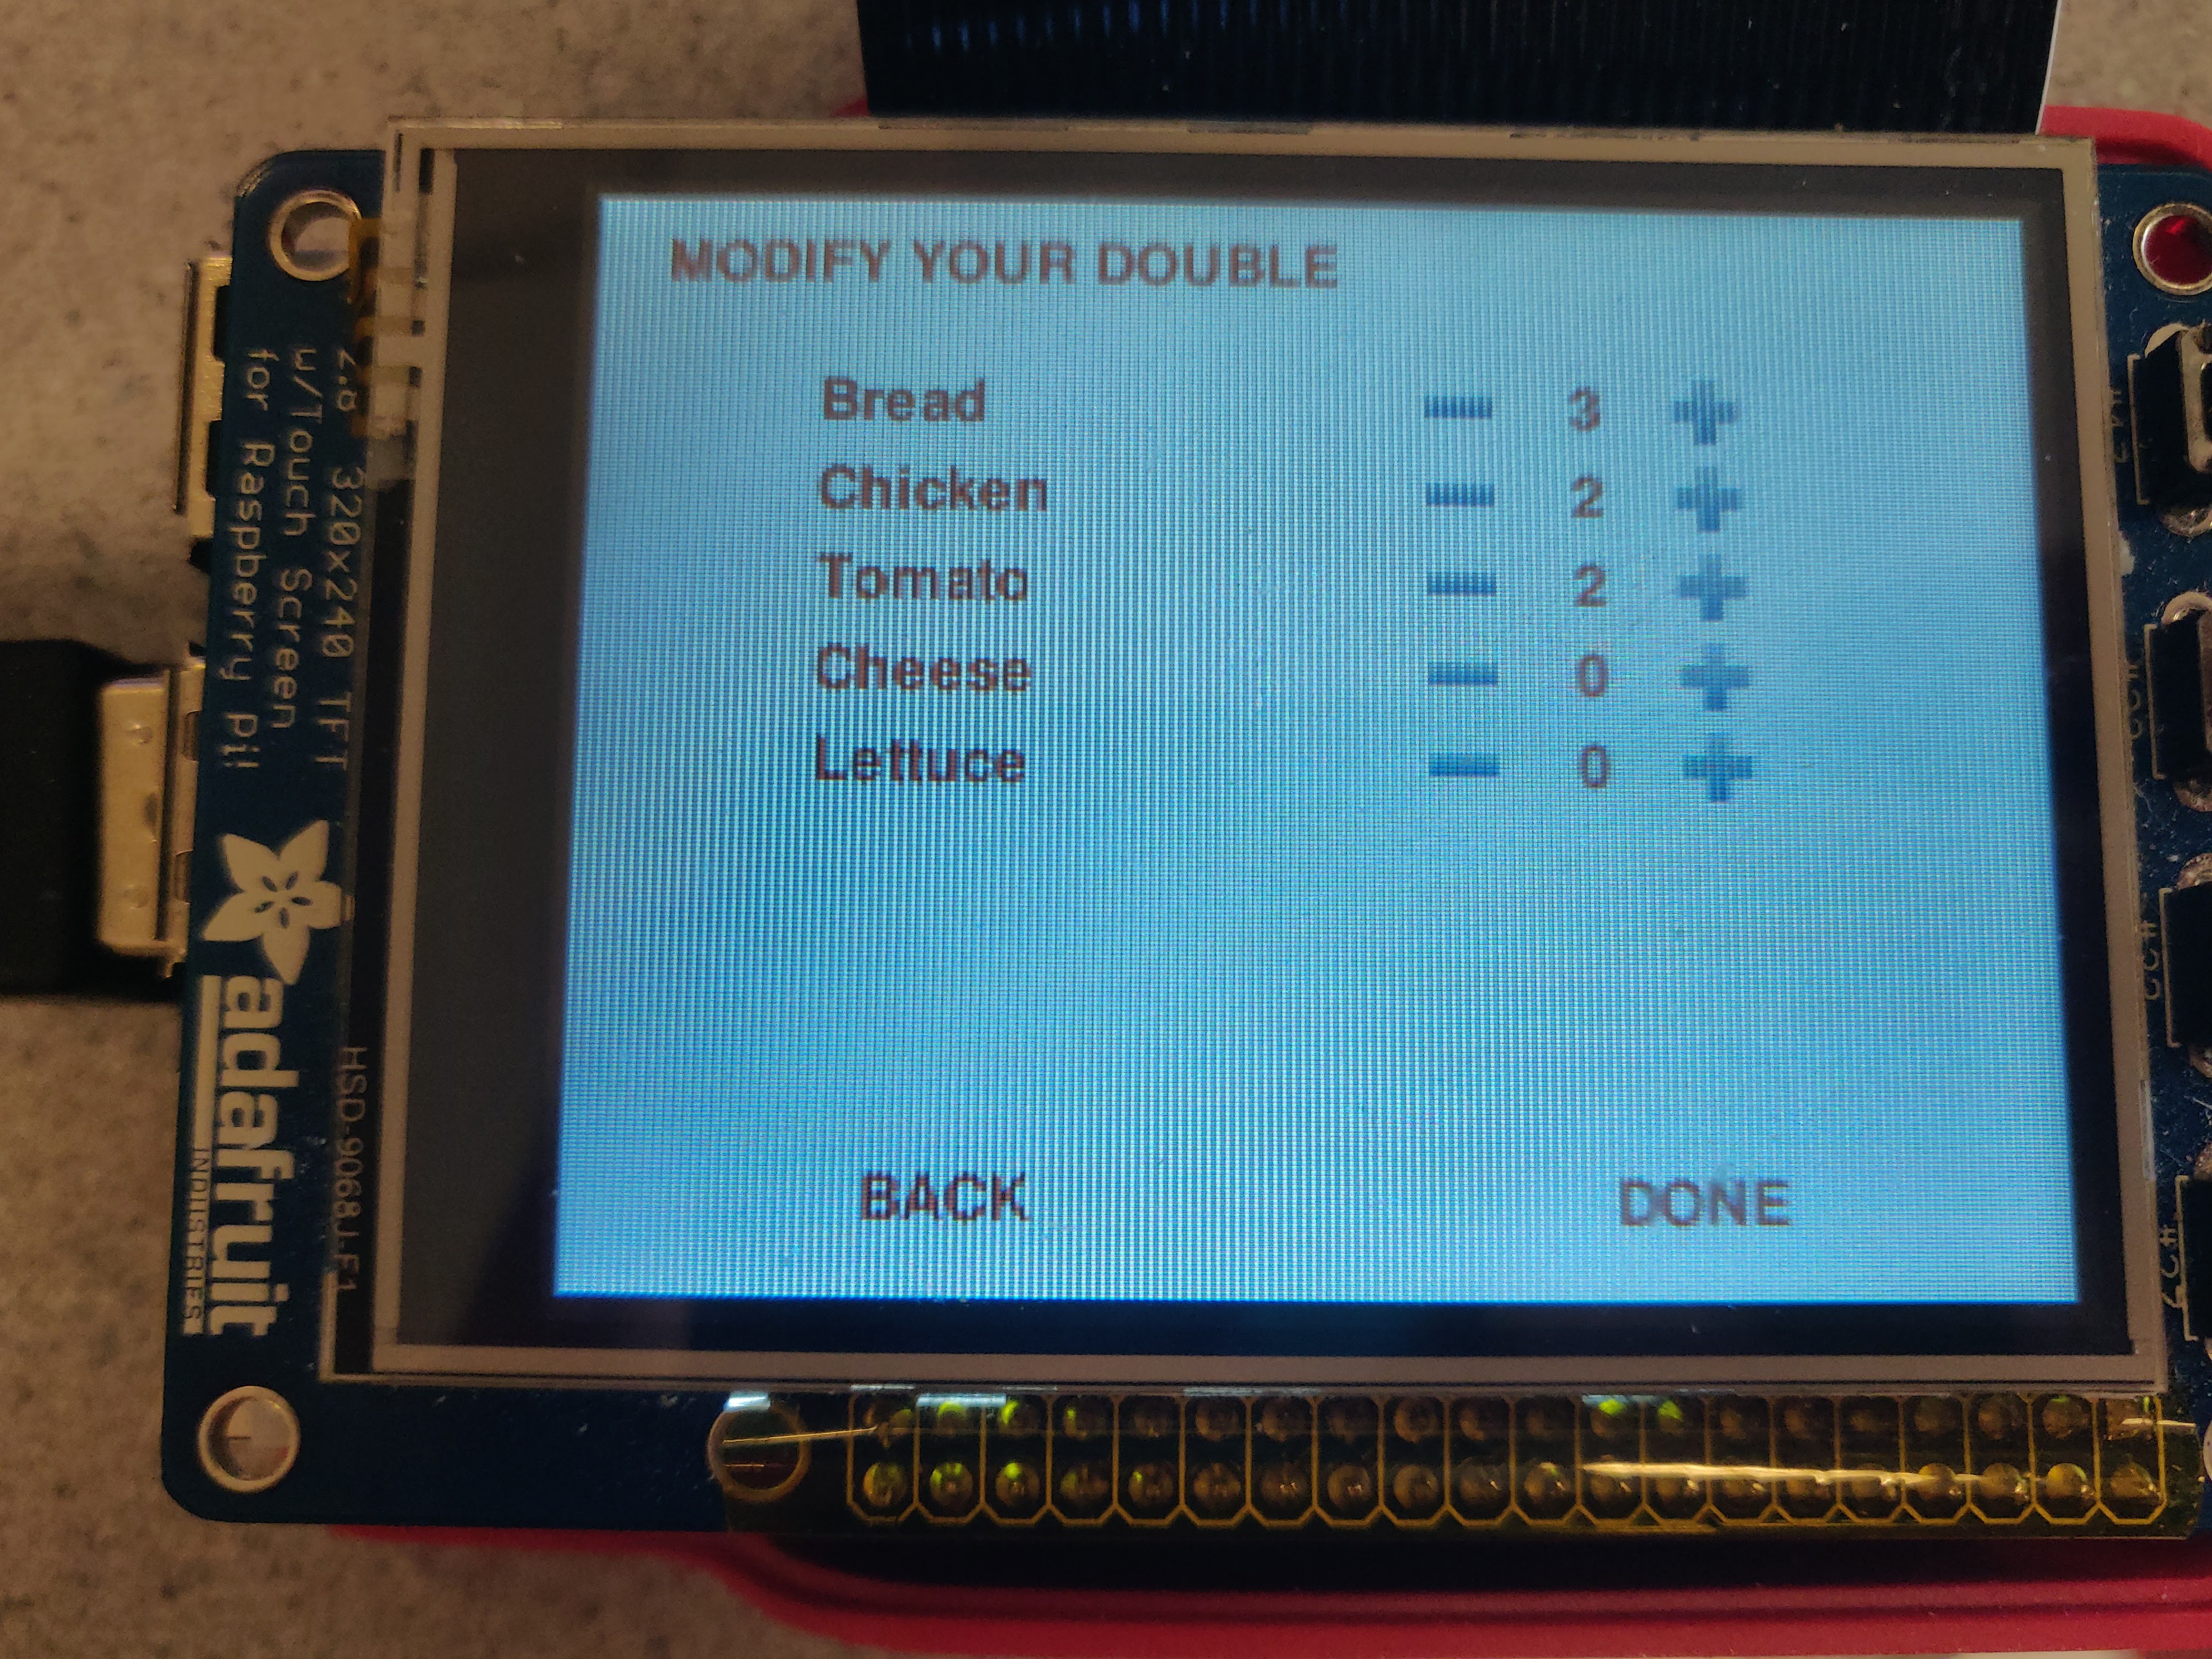
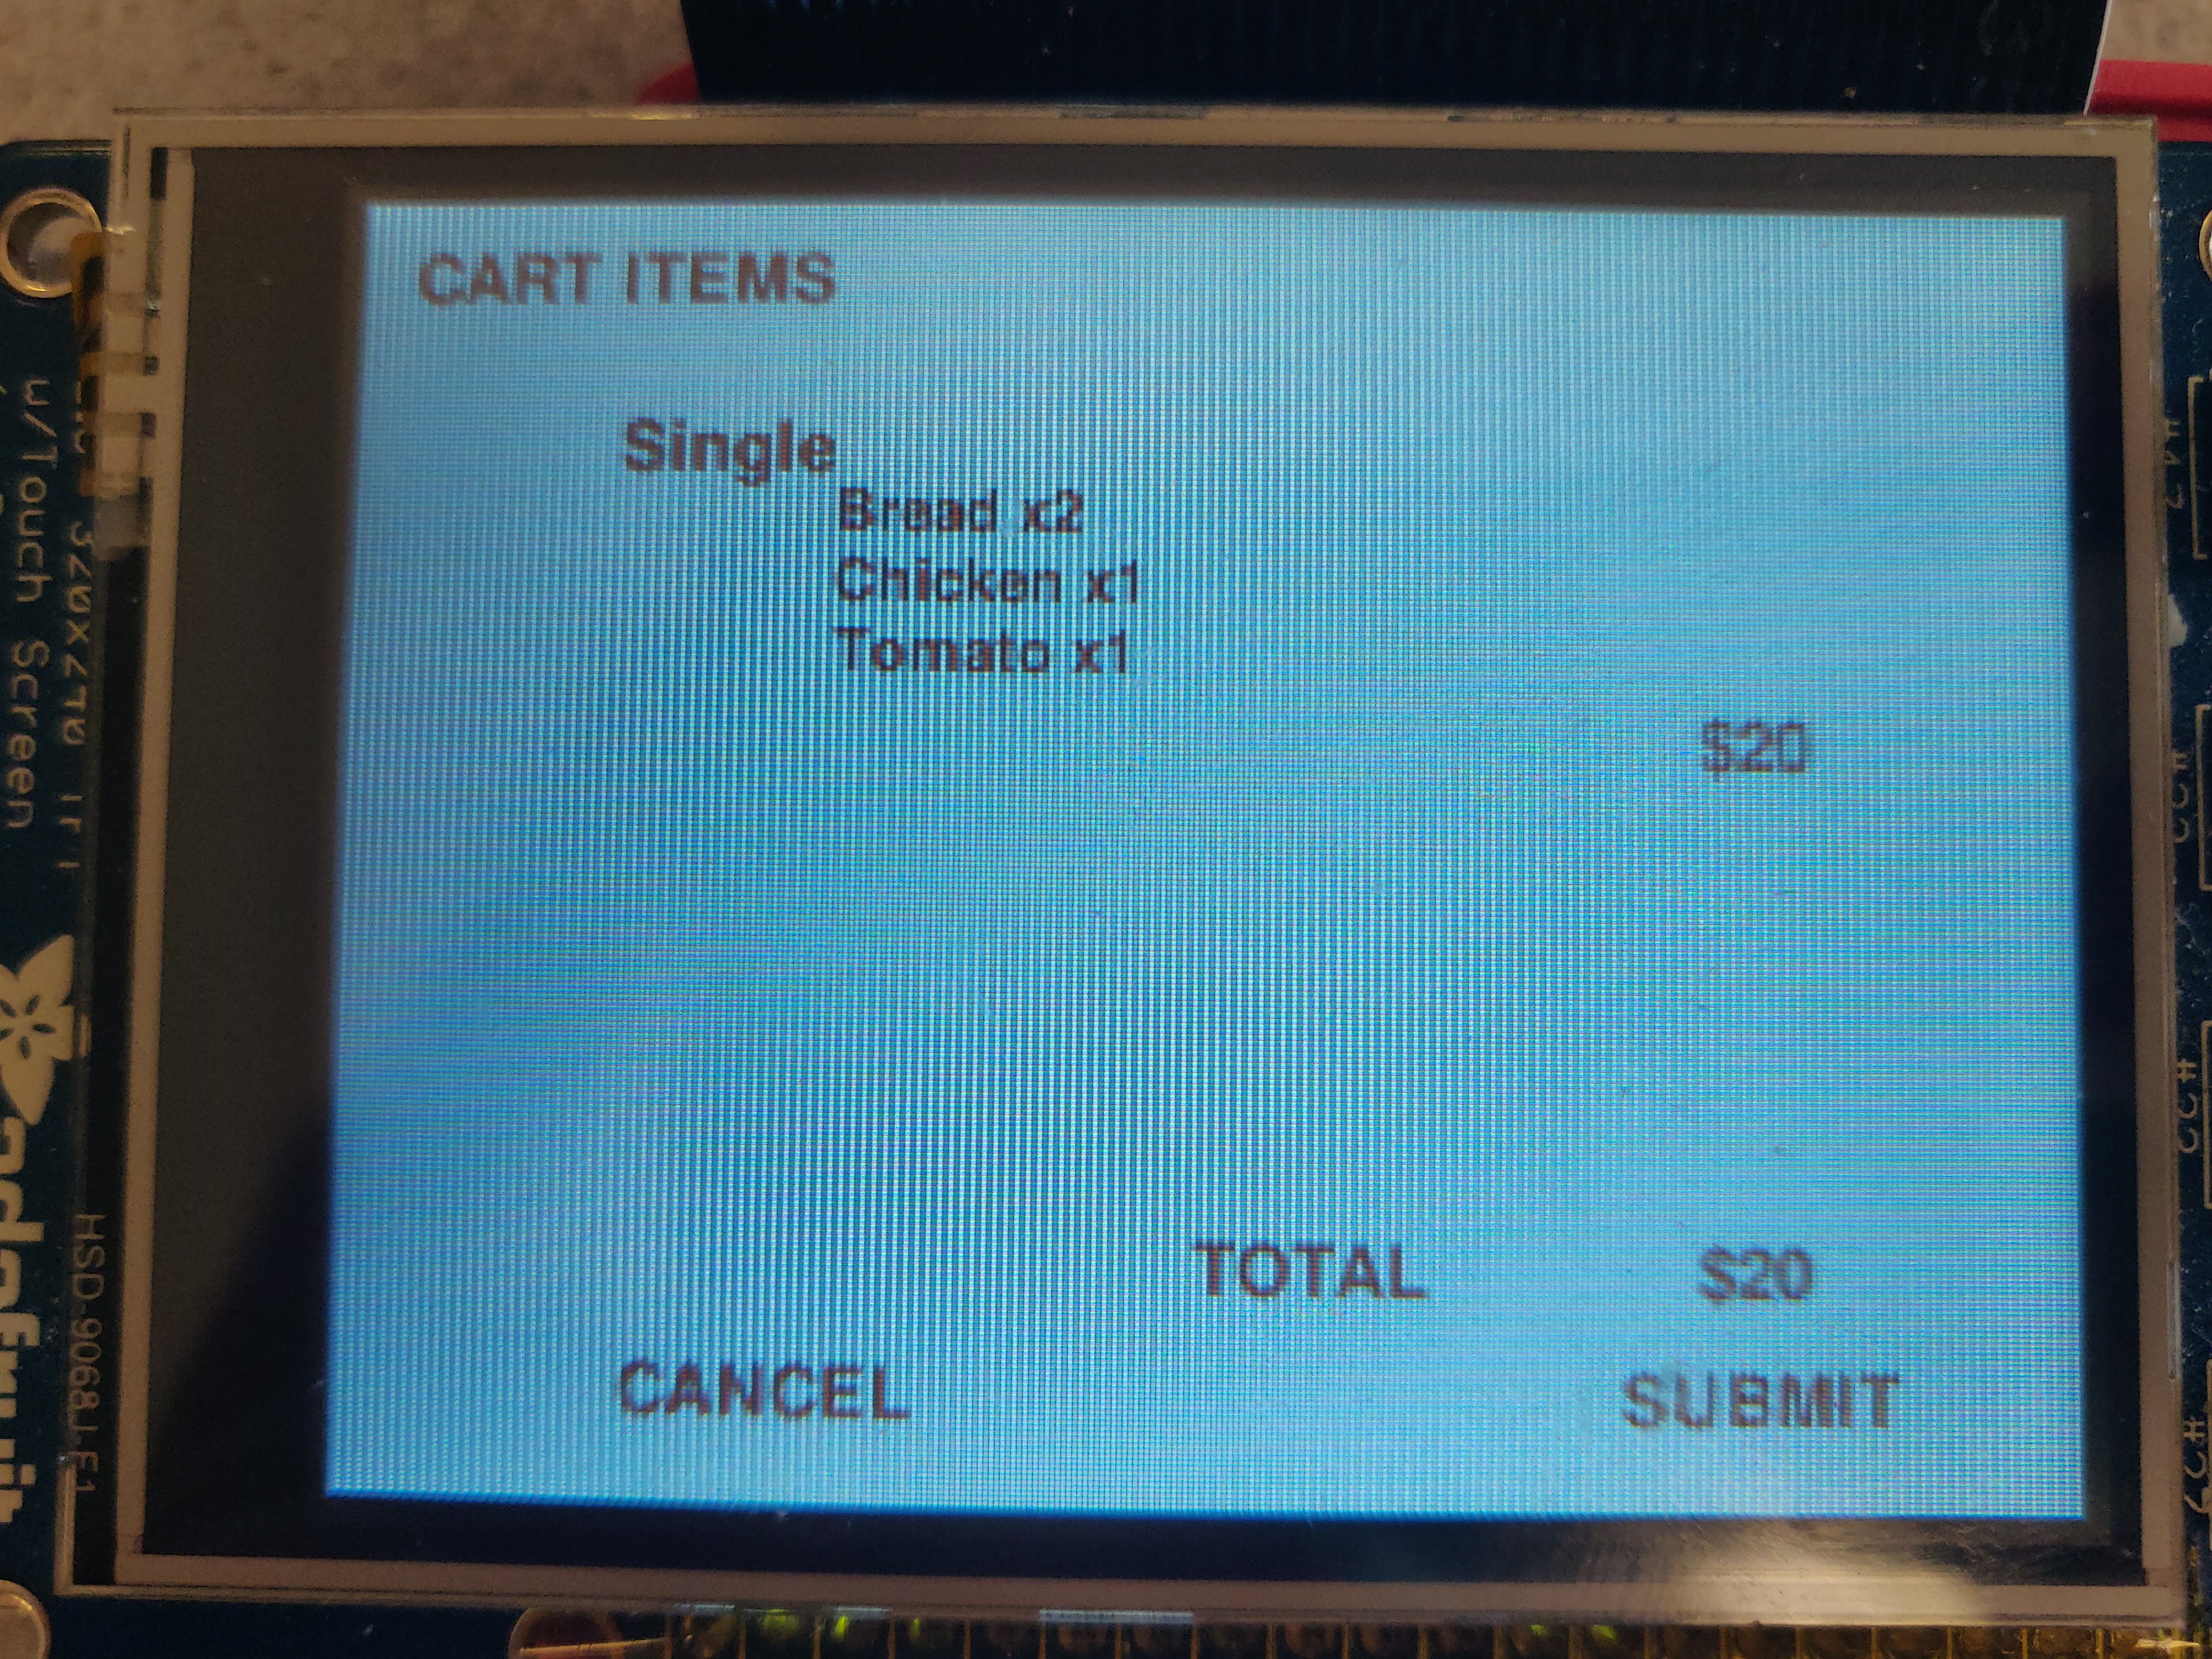
The "ordering kiosk" can be found on the screen of the piTFT. Tapping on the welcome screen will bring up default ordering options. Tapping on one will bring up options to modify add-ons, and confirming your selection will bring up a final review screen before you submit your order to be made by the sandwich maker.
Design and Testing
Include design steps involved in the project. Please include any issues you experienced as well as well as smooth progress in the various phases of your project. Describe testing you performed to confirm that development steps of the project performed as planned.
The Hardware
After deciding on building a sandwich-making system, we quickly realized that the hardware aspects of our system were far more daunting than the software. So, while our preliminary timeline had us working on the GUI in the third week, we ended up pushing that off until much later to make sure that the hardware was in place first. Our initial idea (which we ended up sticking with to the end) was to have a rectangular "tower" constructed of wood and plexiglass that sandwich ingredients were pushed into, falling into place to construct the desired sandwich. We anticipated mounting shelves on the tower, each with its own stack of ingredients.

We researched a bit on what to use for the ingredient-pushing mechanism. Linear actuators seemed prohibitively expensive, so we had the idea to use a "slider crank". Using this we would be able to use the servos offered to us by the teaching team to push the ingredients. We initially wanted to include a more complex "plating" system, where the completed sandwich was brought out by a conveyor belt to be more accessible to the customer. We also played around with the idea of having sauce bottles mounted atop the tower to be squeezed by something as a way to add condiments, but both of these ideas were scrapped.
It is worth noting that what the example above depicts is analagous to a continuous-rotation servo (which has 360 degree rotation, but no way to assign absolute positioning to the servo). We ended up opting for standard servos (which have a bit less than 270 degree rotation), greatly preferring the control of position that they gave us, especially because we were still able to get full range of motion within the context of our usage.
Once we decided on the "what", we moved on to the "how". It should be said that we do not consider ourselves particularly mechanically savvy. After prototyping slider-cranks and conveyor belts with cardboard, paper clips, paper, tape, glue, and cheap DC motors, we head into the project lab to work on the build. We were given a sheet of plexiglass by the Professor and picked up some sheets of wood to work with as well. Throughout this process, we became quite well acquianted with a number of manufacturing tools that neither of us had ever used before. Among these were a table saw, laser cutter, drill press, and dremel. We gained confidence using these tools over time, but we began by using hand saws and scissors to cut our materials to size. This worked fine for the wood, but the plexiglass that we were given was too thick to be cut nicely and kept cracking/breaking as we tried to cut it with the hand or table saw. After ruining a large portion of the plexiglass we realized that the optimal way to cut it was with the laser cutter. Unfortunately the lab's laser cutter was out of order for most of the duration of this project, so we didn't get to use it much. Much of the plexiglass we used later on, however, was more easily cut by the table saw.
We mentioned working on slider crank prototypes. The first iteration of this was cardboard strips with bent paper clips at the joints, and used the cheap DC motors that functioned similarly to continuous servos while also requiring an external motor shield. The second iteration was much more solid, built out of popsicle sticks cut to the desired lengths (with two sticks taped end-to-end for the pushing arm) and actual nuts and bolts. This iteration was attached to the continuous servos, but we would soon swap out the standard servos after we realized that
- A 180 degree range of motion was enough to get the full pushing ROM, and
- We wanted to be able to consistently start and stop the servos in the same location
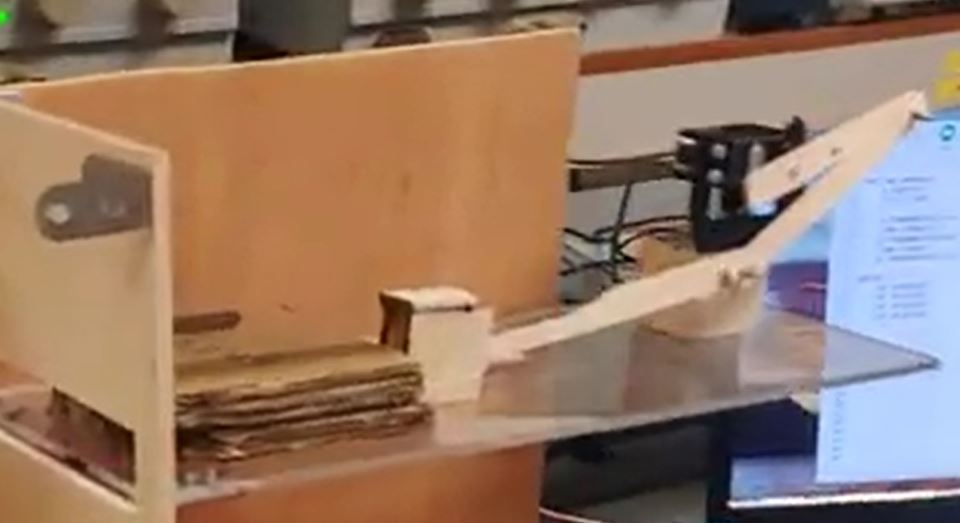
We would later improve the slider crank by cutting more solid strips of wood for the lever arms, and modifying the pushing arm with a flat, broad sheet of plexiglass. This allowed for a more clean transition from one ingredient to the next after the ingredient at the bottom of the stack was pushed out. Once we had designed a slider crank assembly that fit our needs, we needed to adapt it to each ingredient type. This led to the making of four slider cranks, 3 with relative clearance for the bread, chicken, and tomatoes as we needed to account for irregularities in the ingredient stack. The cheese slider crank was built with a snug fit, allowing the mechanism to push out the bottom-most layer of cheese without pulling any out of the back while retracting the push rod.
With the slider crank mechanisms and ingredient shelves now built, we moved onto adding the finishing touches to the design. We first added popsicle sticks along the edges of the push rods to guide the slider cranks, ensuring that each actuation would lead to the push rod fitting into the ingredient box. Next, we built out the bottom receptacle for the ingredients. This was important, as the ingredients would not stack well on top of each other if left falling within the large rectangular area. We therefore cut three pieces of plexiglass to size, and fashioned them into a chute that would bring all ingredients neatly onto a single stack. This can be seen from the green plexiglass parts in the demo video.
The Software

Compared to the mechanical portion of this project, the GUI did not take an excessively long amount of time. We built it entirely in pyGame, using the skills we picked up during the labs in this class. The GUI is fairly simple. It consists of five screens:
- Welcome
- Sandwich Select
- Modify Sandwich
- Review Order
- Thank You Screen
The touchscreen on the piTFT was set up similarly to how we did so in the labs during the semester. Each screen had functions to display the correct images and text, and a function to "sit" in while waiting for taps on the screen. In the event of a tap, the script checks the x, y coordinates of the tap against a range of x,y for each individual button. If the x,y coordinates of the tap collide with the button, the button is considered to have been pressed.
In order to avoid blocking functions (and thus enable the physical quit button to work in all circumstances), the main() loop in our code decides which
functions to answer based on a global variable called view. If view = 1, for instance, the code should be checking for the button taps on the
second screen (in this case, the screen which displays the sandwich options).
The last part of the code that needed to be implemented was servo control. We experimented with the standard servos to figure out what values we had to write to them to get them to extend the pushing arm out all the way and retract all the way. Luckily, these values were consistent across all four servos. We also played around with delay values to make the movement as smooth as possible.
Since we enable the user to choose sandwich fillings, it was impossible to hard code the servo pushing sequence for each sandwich. We defined a servo instance for each servo (one for each ingredient: bread, chicken, tomato, and cheese), and made intelligent logic to decide when to push each servo based on the included ingredients. If you select two pieces of bread, for instance, it will push one piece of bread, all of the "non-bread" ingredients, and then the last piece of bread. If you make a "double-decker" sandwich (ie: three pieces of bread), it will push one piece of bread, half of the "non-bread" ingredients, another piece of bread, the other half of the "non-bread" ingredients, and then the last piece of bread on top. The system is really only built to handle up to two layers of sandwich (which is why we cap ingredients at 4 each), but the code can handle any number of ingredients.

Results
Did everything perform as planned? Did your team meet the goals outlined in the description?
Eventually, the combination of our hardware build and ordering UI led to the final build of our sandwich maker. As demonstrated in the above video, a user is welcomed to an initial ordering screen. The user can then select between 4 different types of pre-made sandwiches, and after an initial selection the user is invited to add or remove ingredients from the sandwich. Once completed, the user is presented with order totals and a submit button. Once the submit button is clicked, the commands are then sent to the servos, and the sandwich gets built.
One of the shortcomings of our design is the reliability of pushing ingredients with the slider crank and falling on top of each other. During final testing, we realized that a high build success rate strongly depended on getting every ingredient perfectly correct: the bread needed to be toasted and dry to reduce friction, and the chicken needed to be cut into flush slices to avoid getting stuck behind the ingredient box. That being said, if those elements were in order the ingredients would get push and fall into the chute.
Conclusions
What results did you project achieve? What did you discover that definitely did not work?
To conclude, our project was able to build a sandwich automaticlly, and deliver it to the user. The most crucial part of the project proved to be the hardware design, since pushing uneven stacks of ingredients turned out to be a far more difficult challenge than anticipated. Fast prototyping and iteration turned out to be crucial to the development of the hardware and software. Combined, it took us over 40 hours to saw, laser cut, glue, drill, and manufacture the hardware elements for the project.
During this build phase, we realized which hardware attempts would not suit our end-goals and were able to adapt and develop improved versions. During initial design, we tested multiple hardware approaches, such as a conveyor belt for the ingredients. Many of these prototypes did not make it to the final design, in favor of the more reliable slider crank mechanism.
Altogether, this build served as a great prototype and proof of concept for future food robotics endeavors. Despite obstacles, we were able to design and build our mechanism, and put together a sandwich from scratch within the given 4-week period.
Future Work
What would you explore if you had more time to work on the project?
Given more time to work on the project, our main focus would be on improving the reliability of the pushing and stacking mechanism. This system is essential to the fully autonomous functioning of one such robot, and repeat human intervention effectively renders the machine useless. In addition, once completed, we would improve all aspects of the UI to develop a system that could be used in a restaurant, store, or food-hall environment. For a marketable design to be created, additional ingredients would need to be added. This goes hand in hand with our first future objective of developing a reliably pushing and stacking mechanism.
Budget
Include a budget / list of parts / bill of materials
| Part | Vendor | Cost |
|---|---|---|
| Metal L Brackets x20 with Screws x80 | Amazon | $14.02 |
| Plexiglass panes | ECE 5725 Lab | N/A |
| Hot glue | Cornell Maker Lab | N/A |
| Plywood panes | ECE 5725 Lab | N/A |
| Raspberry Pi 4 | ECE 5725 Lab | N/A |
| 4x Standard Servo Motors | ECE 5725 Lab | N/A |
References
[1] History of the sandwich https://cellones.com/the-history-of-the-sandwich/ [2] Slider crank gif https://en.wikipedia.org/wiki/File:Slidercrank_animation.gif
Code Appendix
Cite any source material you used for your project. This list could include:
- Student project sites you consulted
- Data sheets for parts you used
Coin Sorter (Spring 2020)
Polyphonic Theremin (Fall 2020)
Parallax Standard Servo (#900-00005) DataSheet
All code used to develop the ordering UI and actuate servos has been uploaded to GitHub.